How To Make A Cabochon Ring
If you’re new to jewellery making and looking for a simple piece to get started with, look no further than a bezel set cabochon ring. You can experiment with different shaped and coloured cabochons to achieve the look you want.
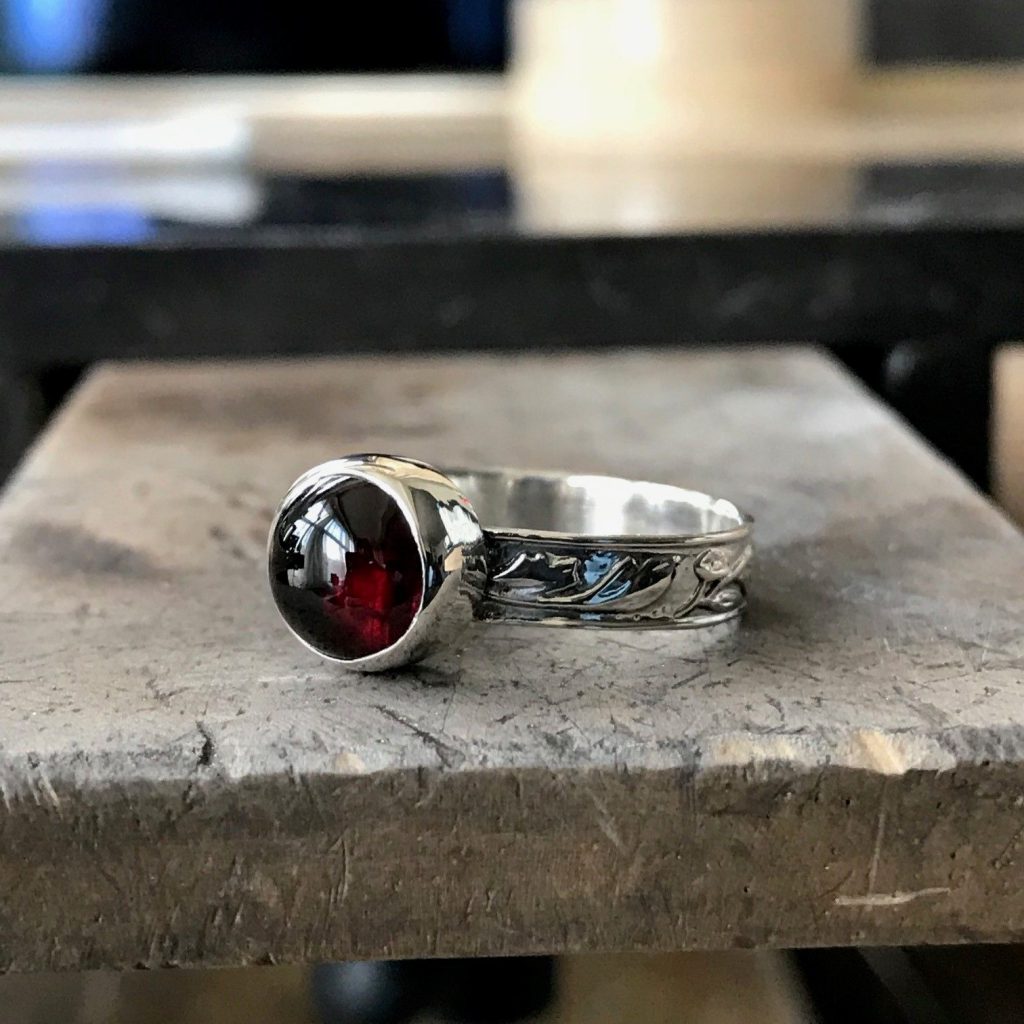
We’ve put together a step-by-step guide outlining how to make a cabochon ring, from the tools and materials you’ll need to the art of cabochon stone setting.
How to make a cabochon ring in 14 easy steps
For the full cabochon tutorial and the tools you’ll need before getting started, don’t forget to download and print off our step-by-step tutorial on how to make a cabochon ring. You can add your own notes and drawings as you go along, or even mount it on your studio wall ready for your next cabochon ring project.
Step One
You’ll need to start off by getting the ring size right by wrapping your wire around the ring mandrel, then cut. If you cut the wrong amount of wire, don’t worry – you can still create a cabochon ring and use this attempt as a practice run, before creating one of your desired size.
Step Two
The next step is to file and shape your wire. After you’ve made each end of your wire flat, make sure they fit together without any gaps. You’ll need this for when you solder. Then, bring the ends of your wire together into a circle.
Step Three
Once you’ve brought the ends of your wire together, it’s time to solder. Take extra care and concentrate on the seam line until the solder flows.
Don’t forget to pickle your ring after soldering! This cleans the ring and removes the flux and oxidation from the wire. Perfecting your soldering technique? Read our guide to simple soldering or check out our silver soldering tips.
Step Four
Taking your cabochon, gently wrap your bezel strip around it and mark where it meets the other end, then cut. Be careful and make sure your strip fits your cabochon neatly.
Step Five
Repeat step two and file the ends of your bezel strip flat, so that you can solder effectively. Concentrate on the join until the solder flows, then pickle.
Step Six
Now you need to form your ring. Gently place it onto your ring mandrel, and form it carefully using a nylon jewellery hammer or a rawhide mallet.
Step Seven
The ring’s solder line needs to have a flat edge for the bezel cup to sit on. To achieve this, file a flat edge using a mitre cutting vice if you have one.
Step Eight
Take your cabochon and place your bezel cup over it, pushing gently to shape it. Make sure you file the underside of the bezel to make it flat, so you can easily solder it onto your sterling silver sheet.
Step Nine
Gently place some small pieces of medium solder against the bezel and the sheet, and solder as you did before.
Tip: Due to the heat, your solder will move away from the bezel. Bring it back in line by using a solder pick.
Once you have soldered your bezel and sheet, place them in the pickle and then saw around the bottom of the bezel, leaving you with the soldered cup.
Step Ten
Now you’re ready to solder your ring. This can be quite tricky, so take your time. When you’re finished, pickle the ring.
Step Eleven
Polish your ring with a barrel polish, until the surface gleams and is free of any marks or smudges. This can take anywhere from 30-60 minutes, depending on the size of your ring.
Step Twelve
It’s time for the cabochon stone setting.
You can use a Technique Master Bezel Set for this, but if you don’t have one you can set your cabochon stone differently (see step thirteen).
Placing your ring in a ring clamp, you can then put your cabochon into the bezel cup and hammer with a punch, until the bezel encloses around the cabochon stone. Happy with the setting? Burnish your ring and the bezel set cabochon to secure it further and give it a neat finishing touch.
Step Thirteen
If you don’t have a Technique Master Bezel Set, you can set your cabochon stone by sanding the top of the bezel and using a bezel pusher to work around the stone.
Step Fourteen
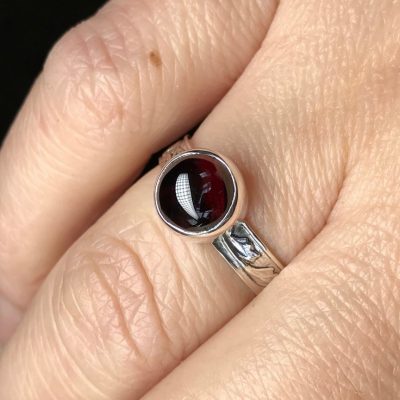
Lastly, clean any marks off your ring by sanding them gently, then give your ring a final hand polish. Now, your bezel set cabochon ring is ready to be worn.
For a full list of tools and materials and further details on the techniques at every step of making a cabochon ring, make sure you download our tutorial on how to make a cabochon ring from our Let’s Make Projects Booklet.
source https://jewelryexchangedallas.com/blog/how-to-make-a-cabochon-ring/
source https://jewelryexchangedallas.blogspot.com/2018/10/how-to-make-cabochon-ring.html

Comments
Post a Comment